It’s always a slightly nervous operation when my iMac needs opening up, but on return from my holiday it wouldn’t boot and everything was pointing toward the SSD I’d installed when I first got my 2011 iMac.
I ordered a replacement on Amazon which arrived the next day. It’s hard to believe that I got
During that time, I’d actually managed to get the system to boot, although it was running incredibly hot and seemed a little erratic. I did manage to use Carbon Copy Cloner to create a bootable copy of the internal SSD to the new externally connected SSD, so was happy from a data perspective. I also have several copies of the data, so data loss wasn’t the main concern. I was simply hoping to save some time and not have to reinstall macOS and all the Applications I use.
My first step with anything like this is the
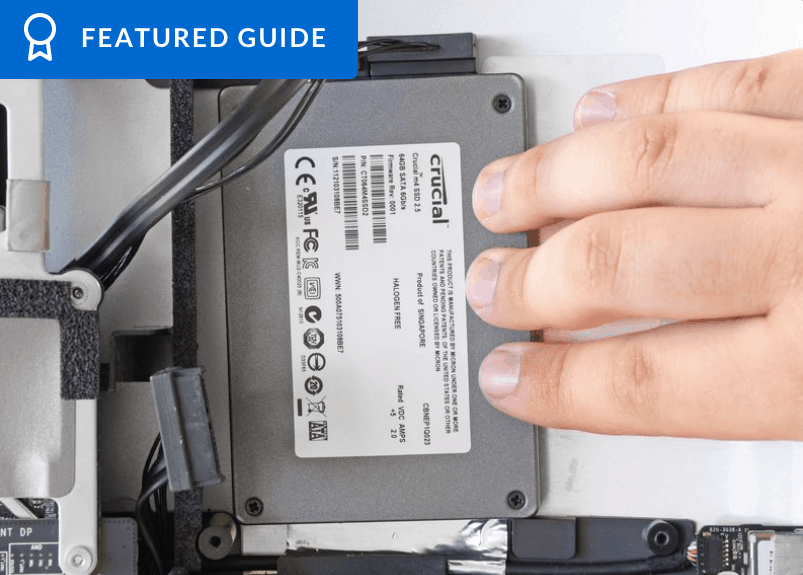
All that said, it was a pretty painless process. I found the stuff I’d used originally in a box in the garage, and once the screen was removed, replacing the SSD was simply a case of removing the 4 optical drive screws and switching over the drives.
The machine booted the
My iMac is now 7 years old, although still does what I need it for pretty admirably. It helps having the SSD boot disk, and an upgraded 2TB HDD, along with 32GB of RAM, but I’m hoping it will last me another few years before it needs replacing.
Recent Comments