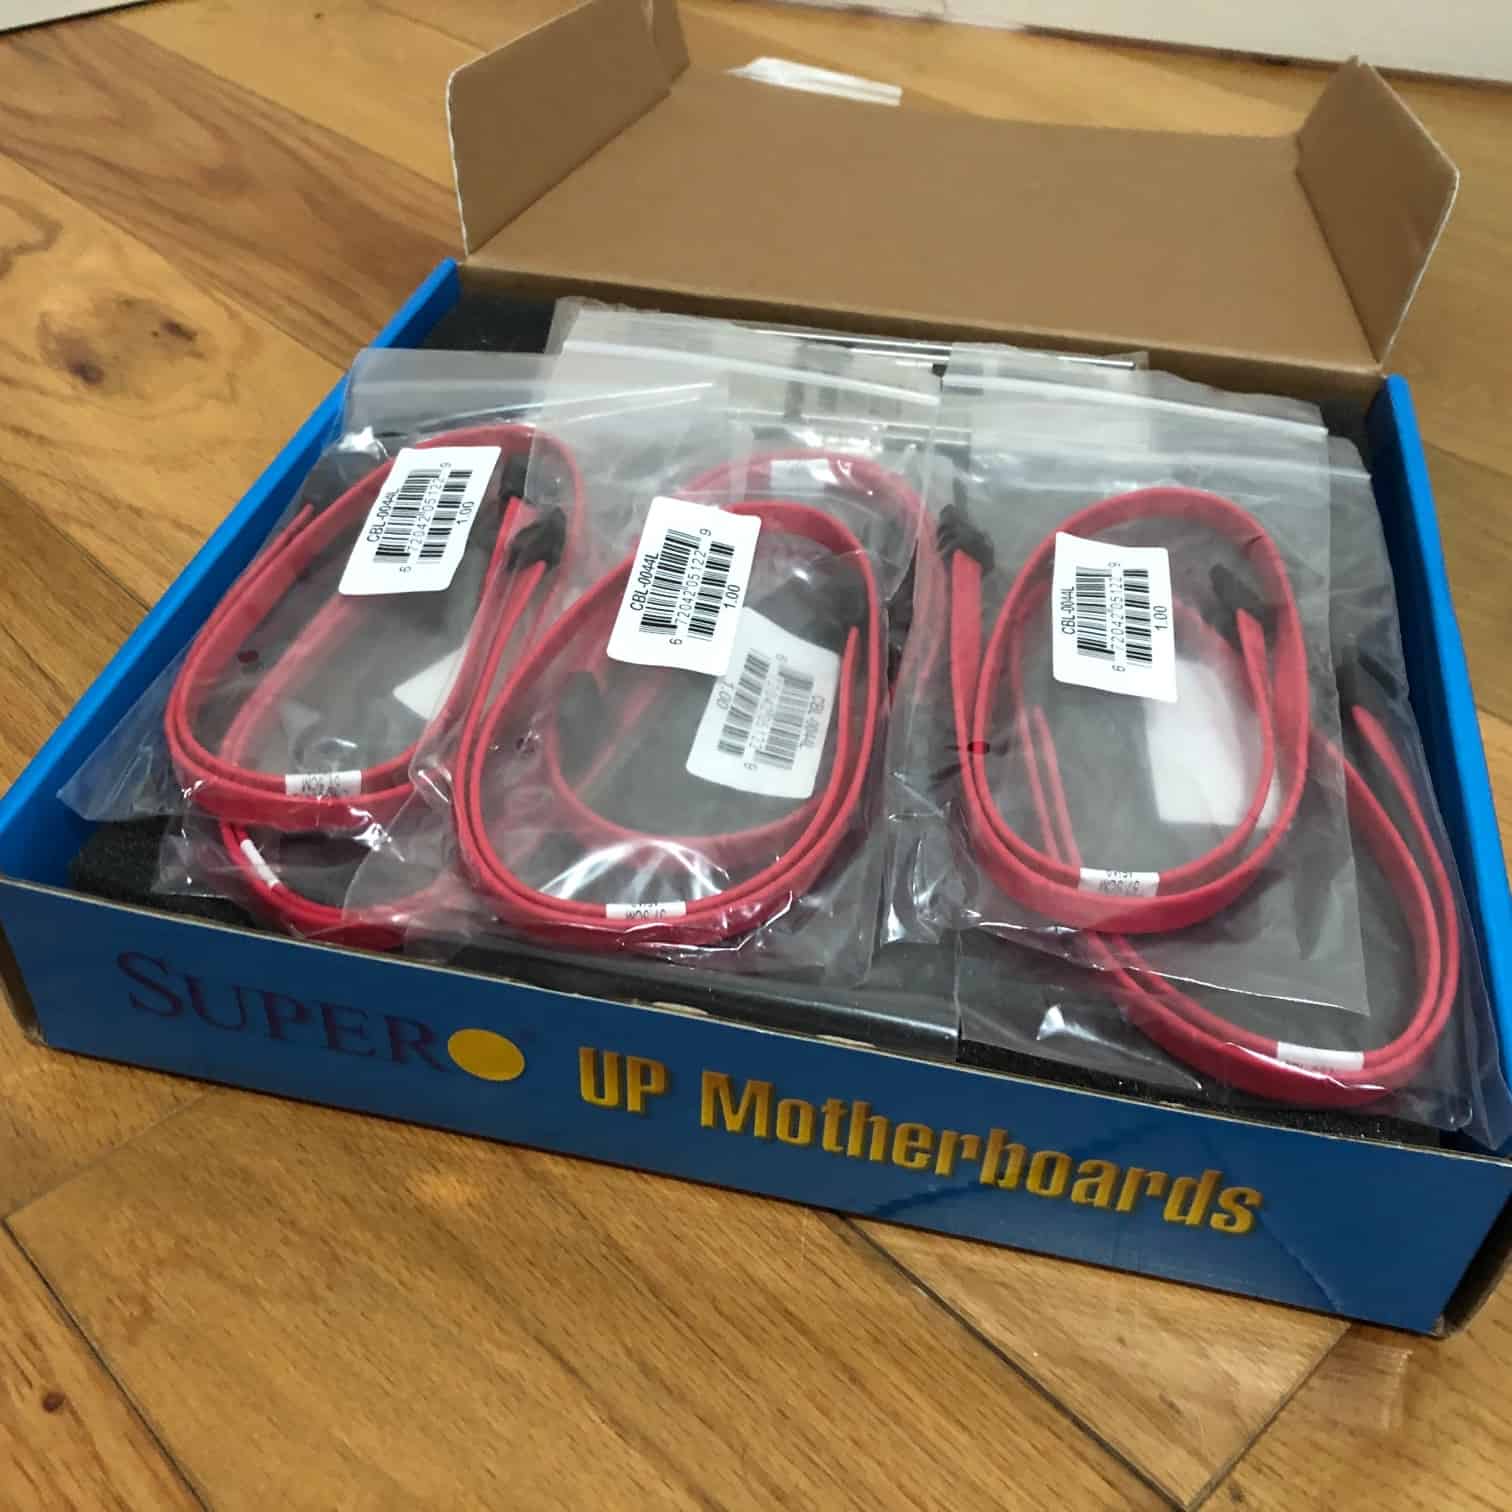
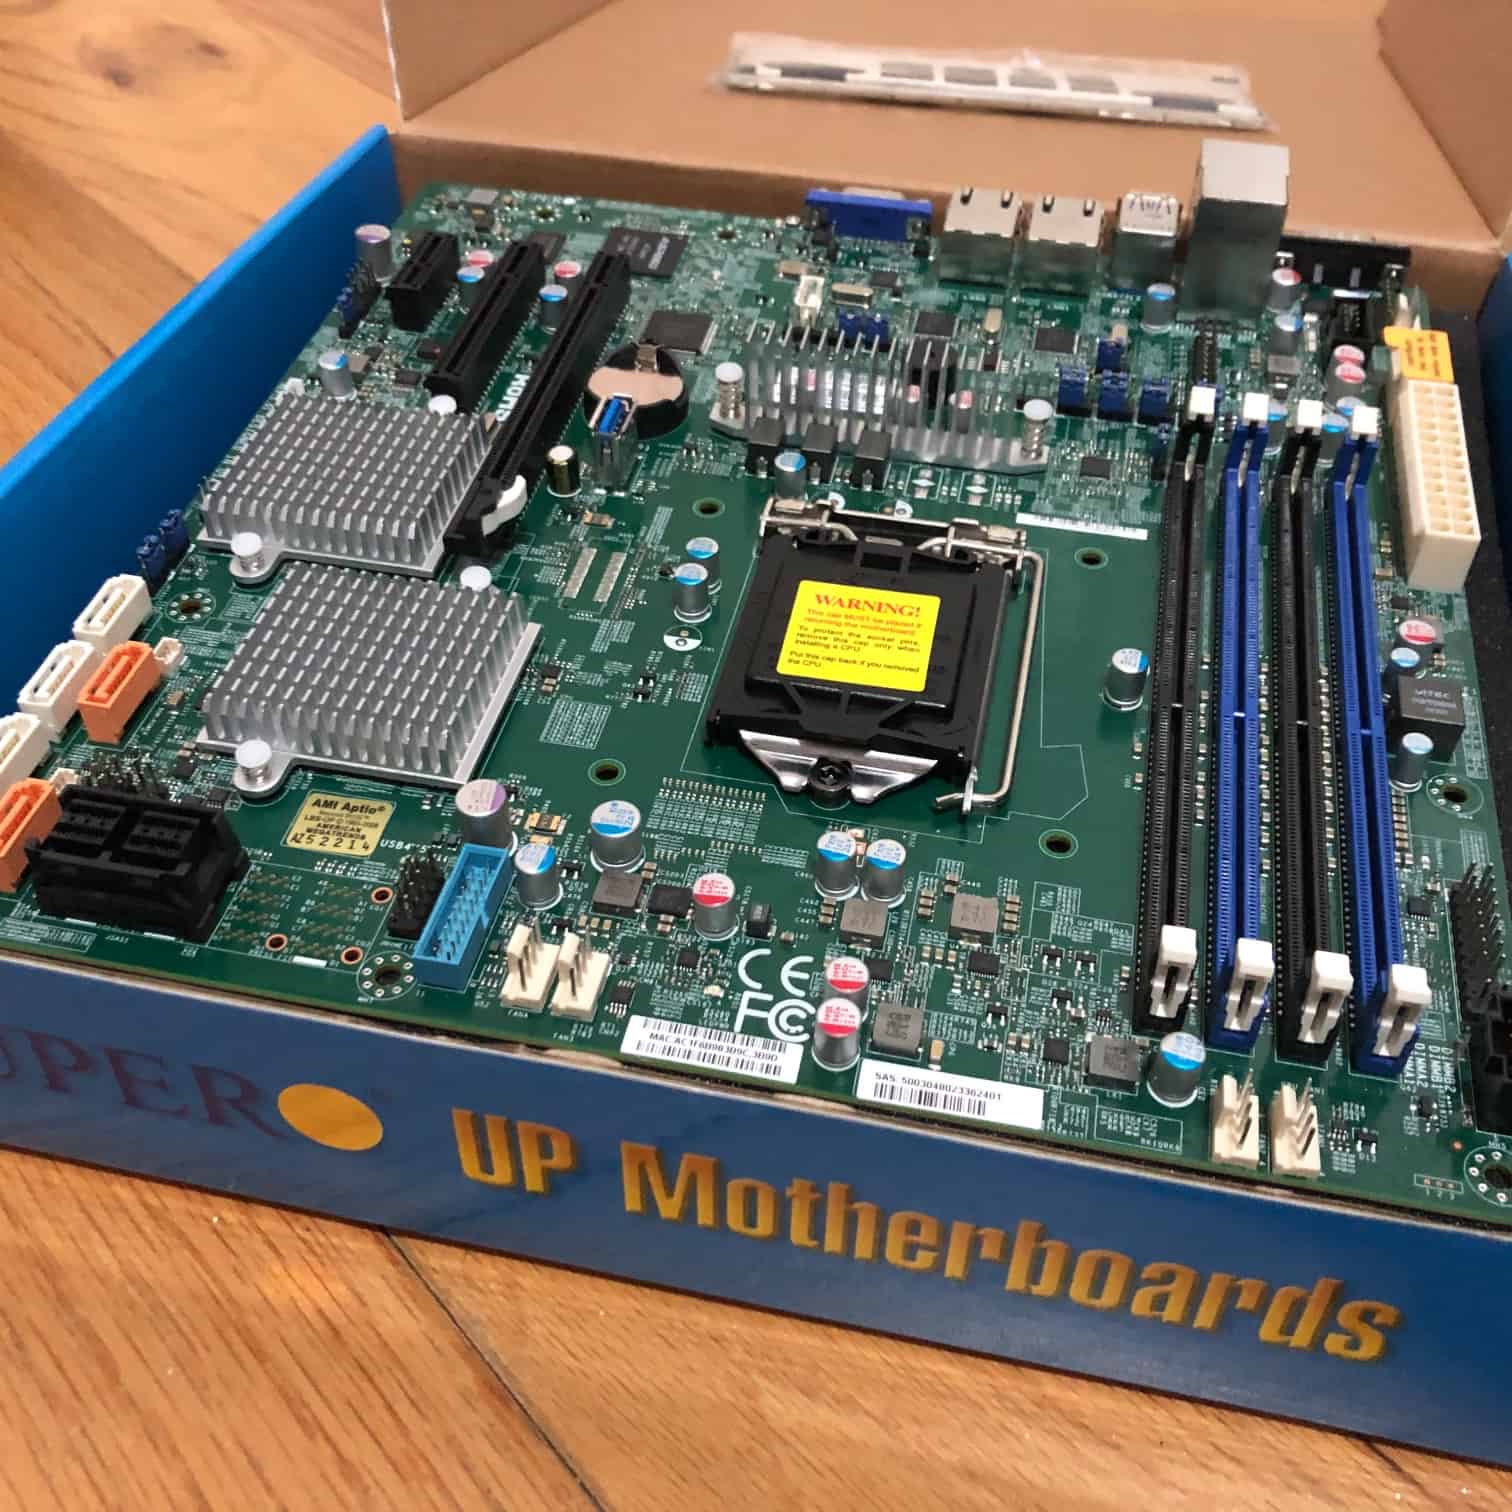
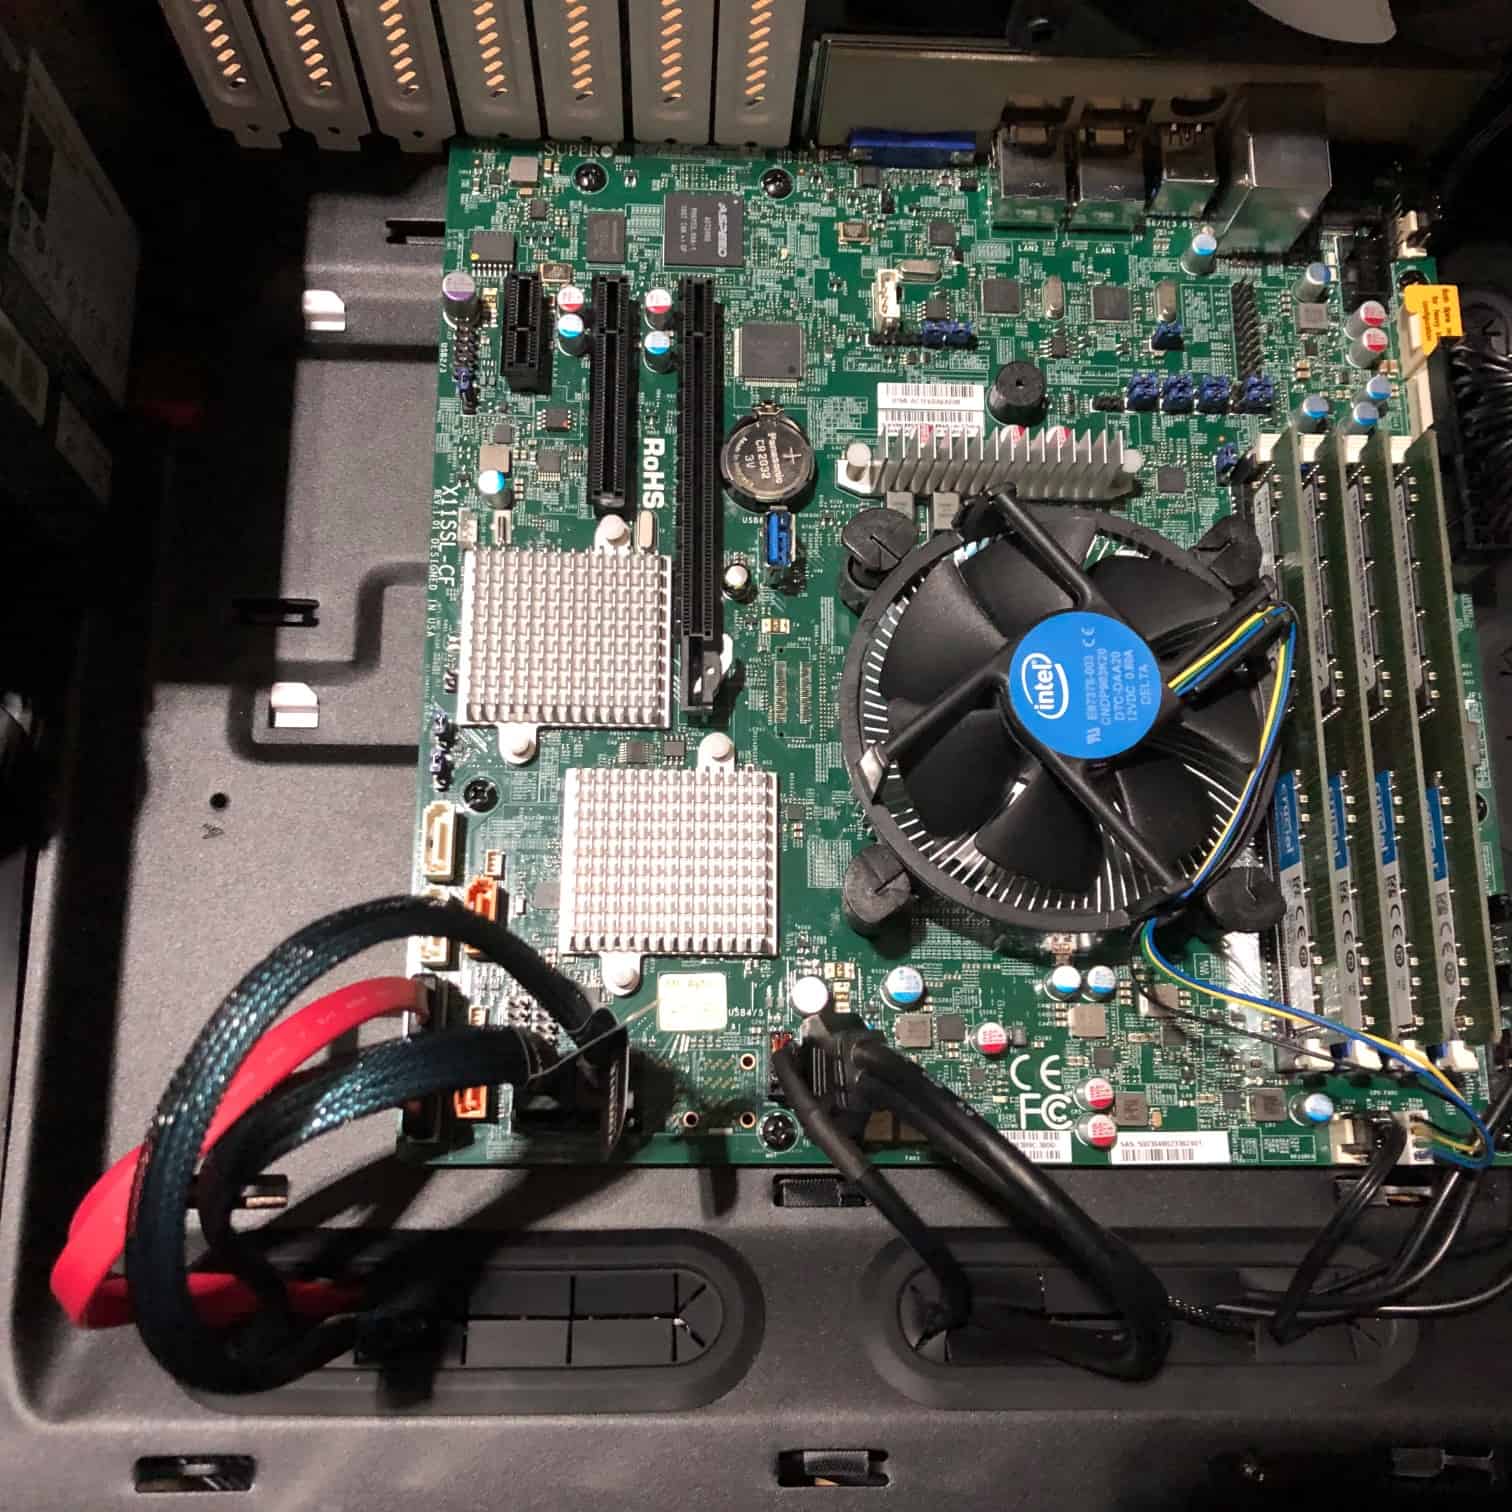
It’s here! Say hello to the Supermicro X11SSL-CF motherboard.

Before we begin, I know I’m not going to be following all the recommendations (e.g. memory tests, disk burn-in, etc.) when deploying a new server. I am going to be running it for a few weeks while the data is transferred and everything is configured before it becomes my production machine. I’m also going to have 2 full system backup (while I still have FreeNAS2), so I’m going to cut a few corners. If that bothers you, probably best not to read on!
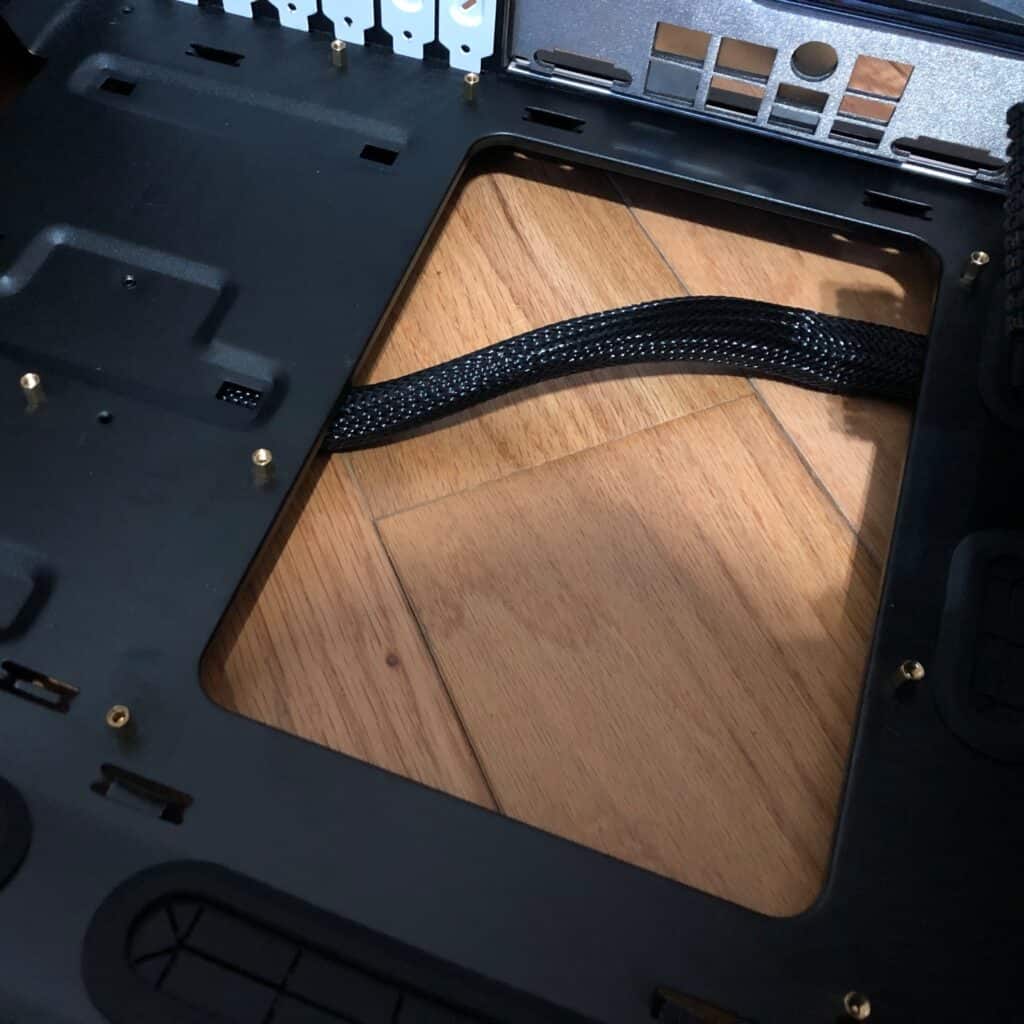
I probably should be powering up the board too before installing it into the case, but I’m not! Aligning the board with the holes and risers was much more straight forward that I remember last time, although there was a riser with a dome which I assume was looking for a hole in the motherboard that just wasn’t there. I used a spare riser but not screwed down.
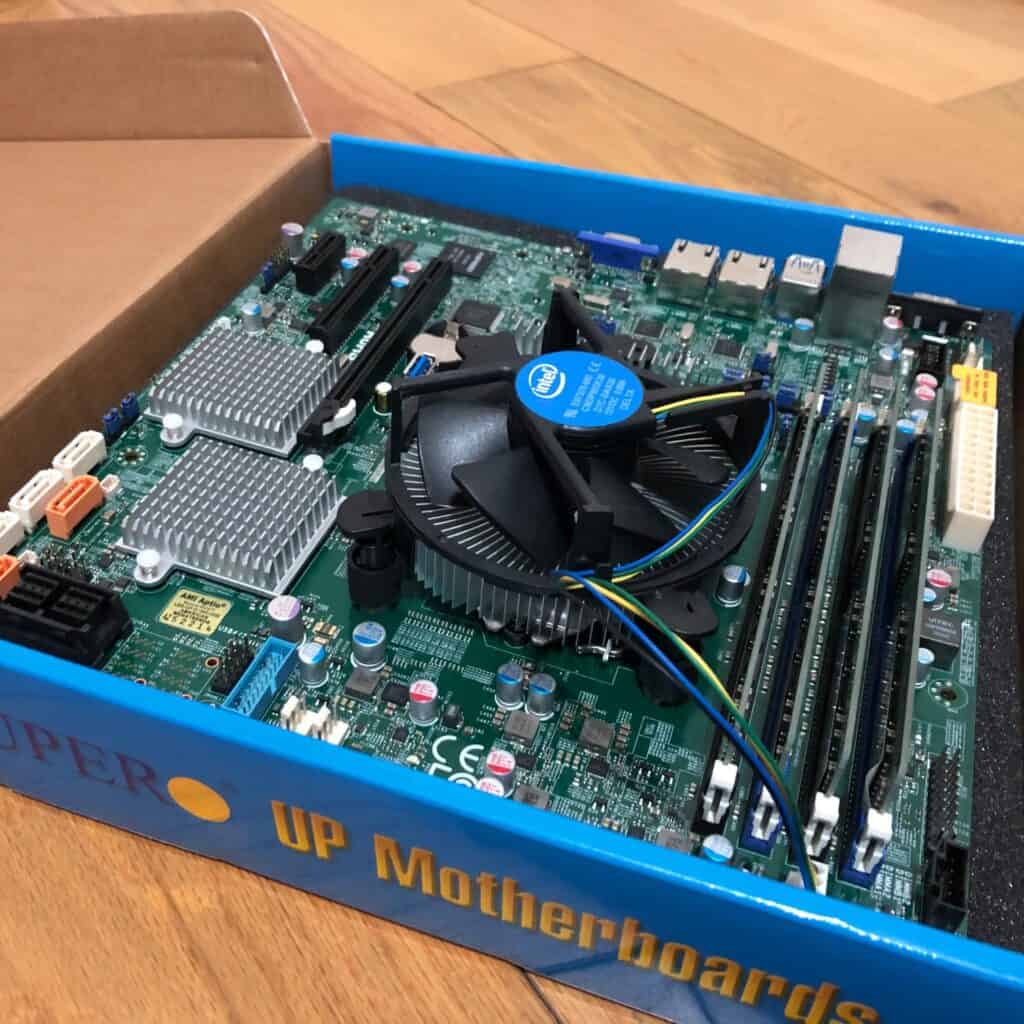
Once I knew everything lined up, I thought it made sense to install the CPU and fan, and the RAM before screwing everything into the case.
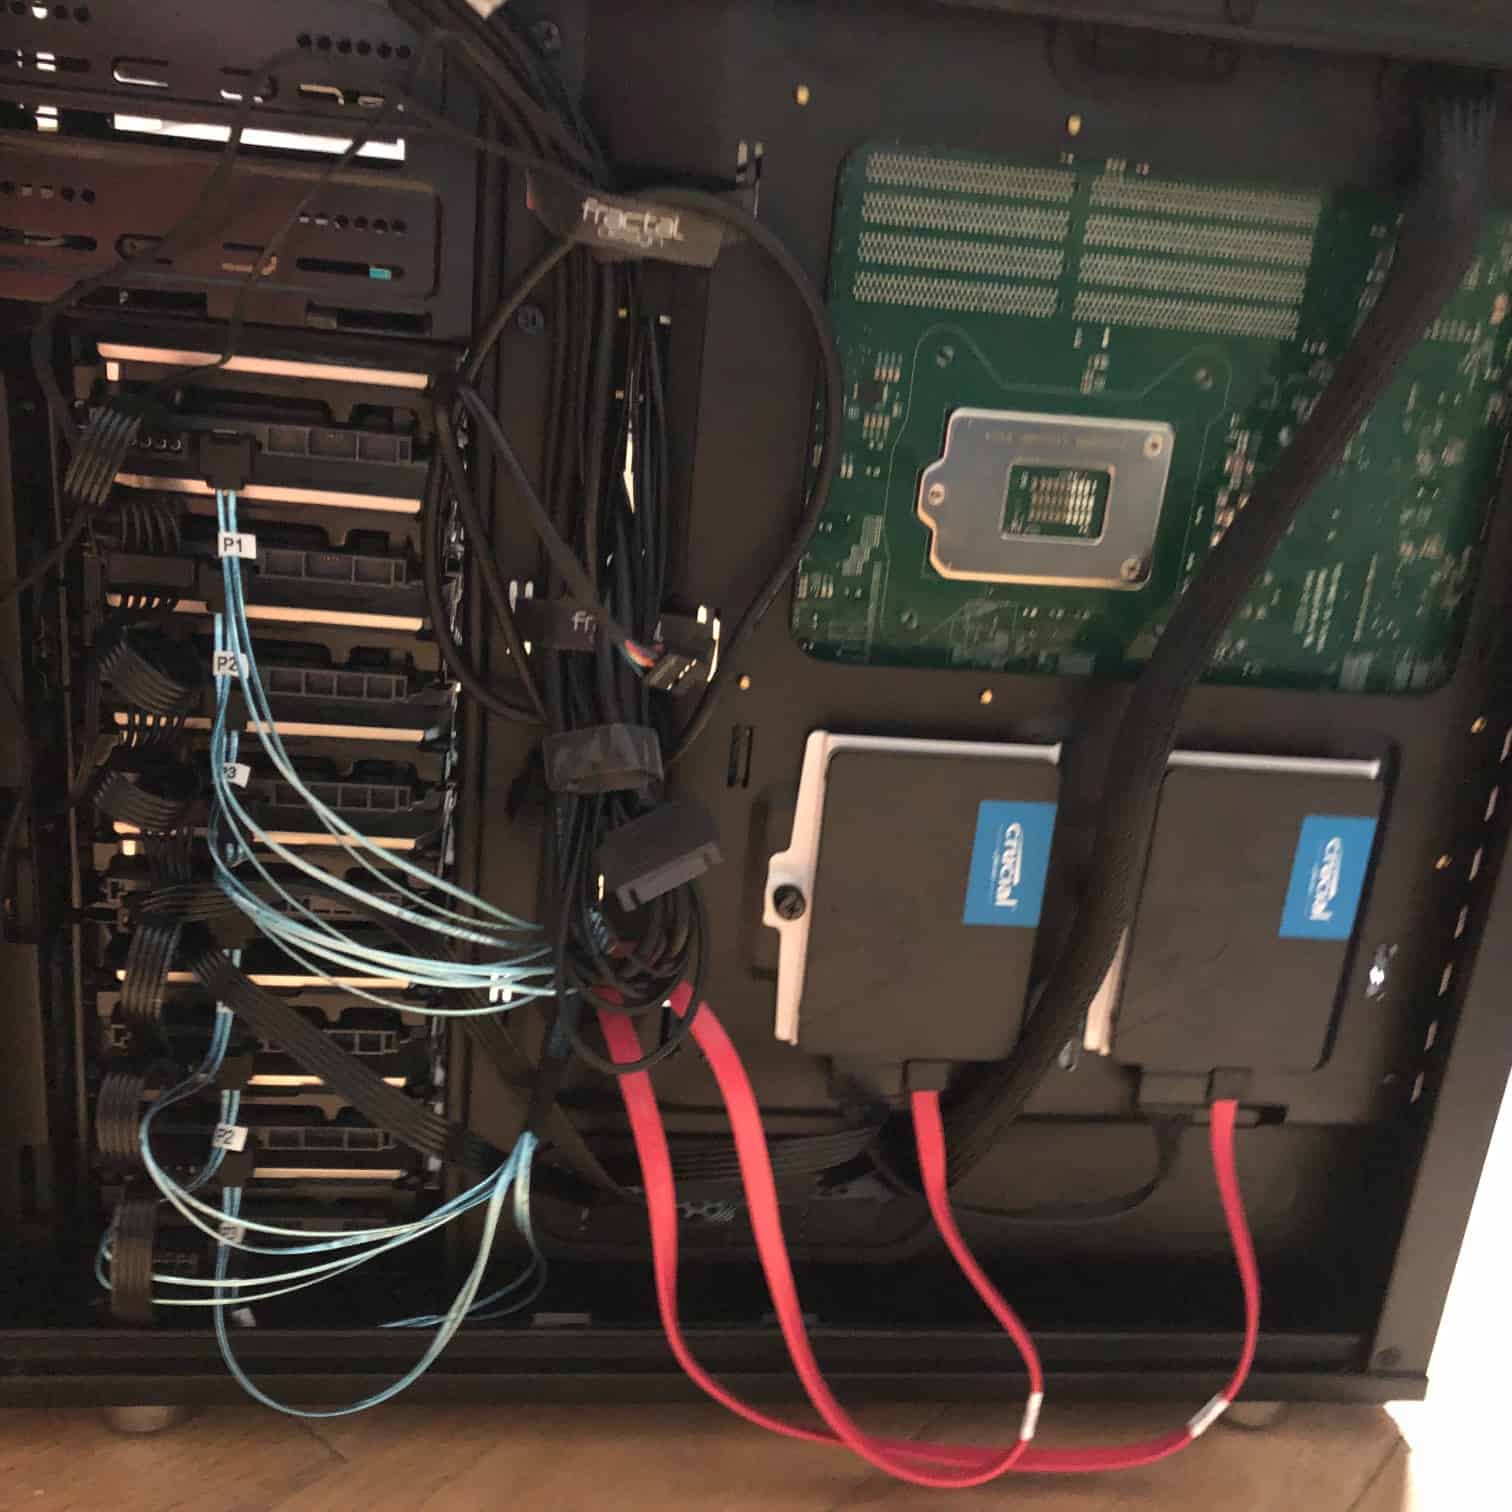
And then to try and connect all of the cables to the motherboard, which is always a little bit of a challenge. Got most things right, but don’t have any power lights so will need to solve that at some point!
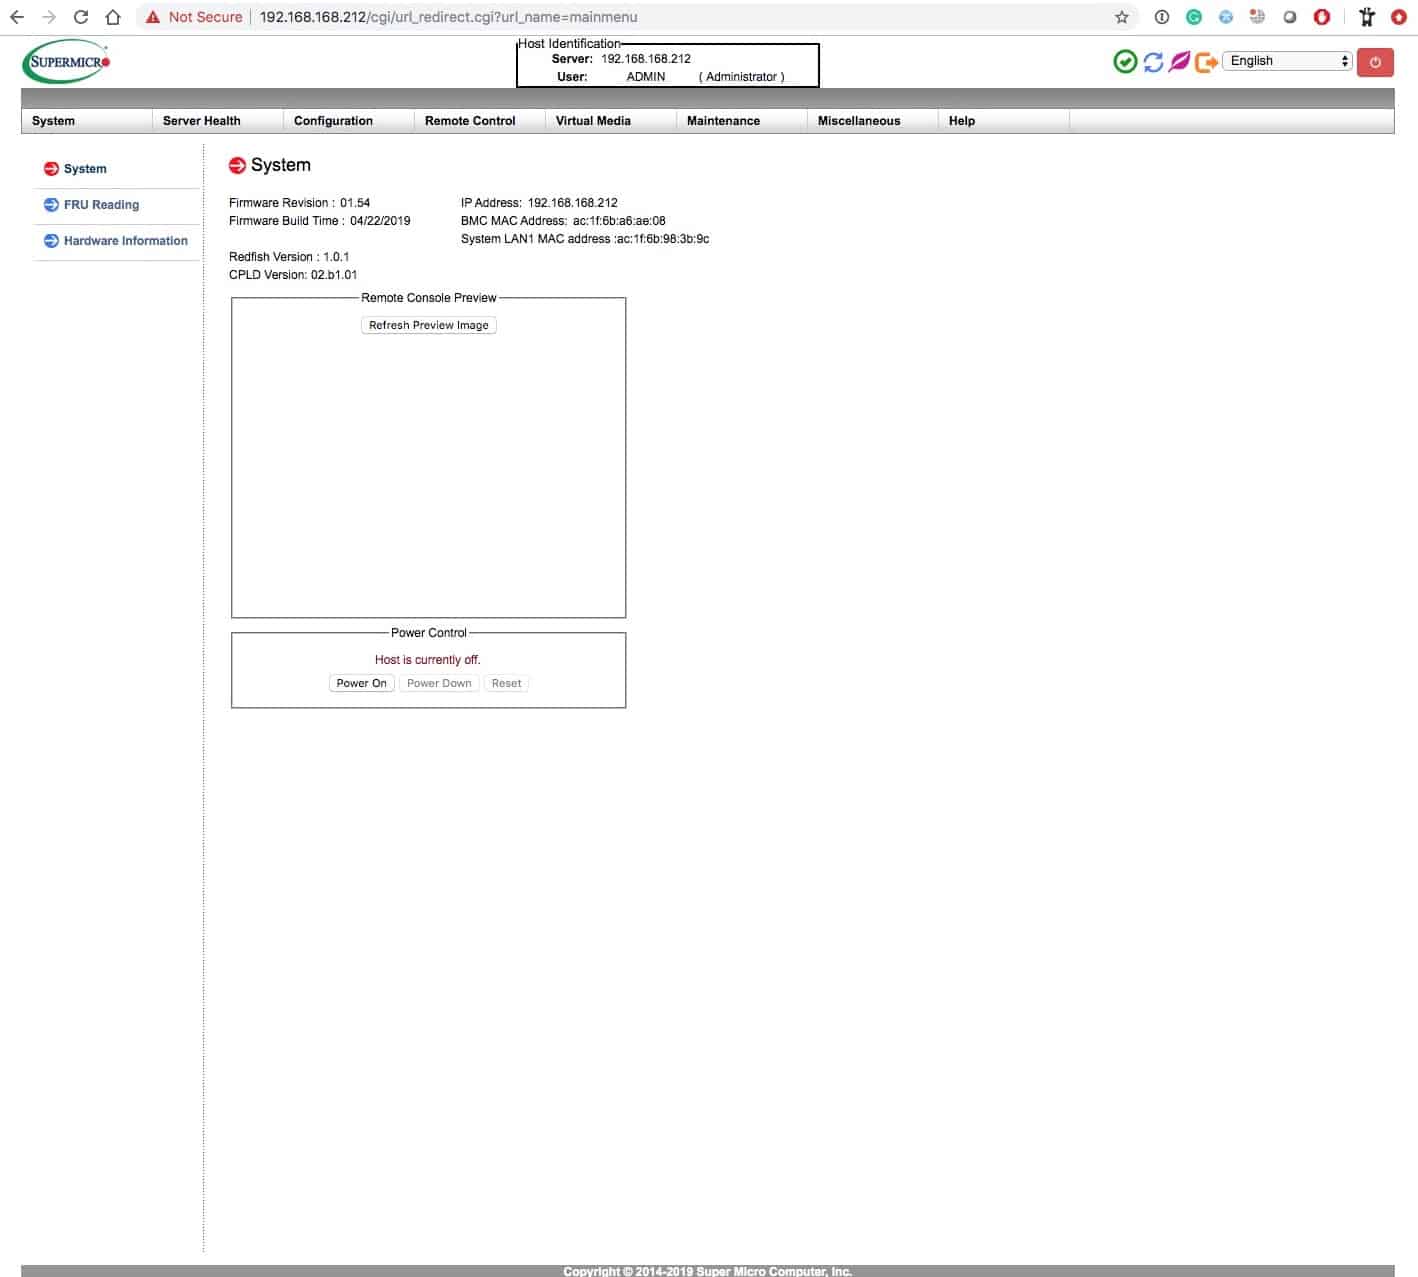
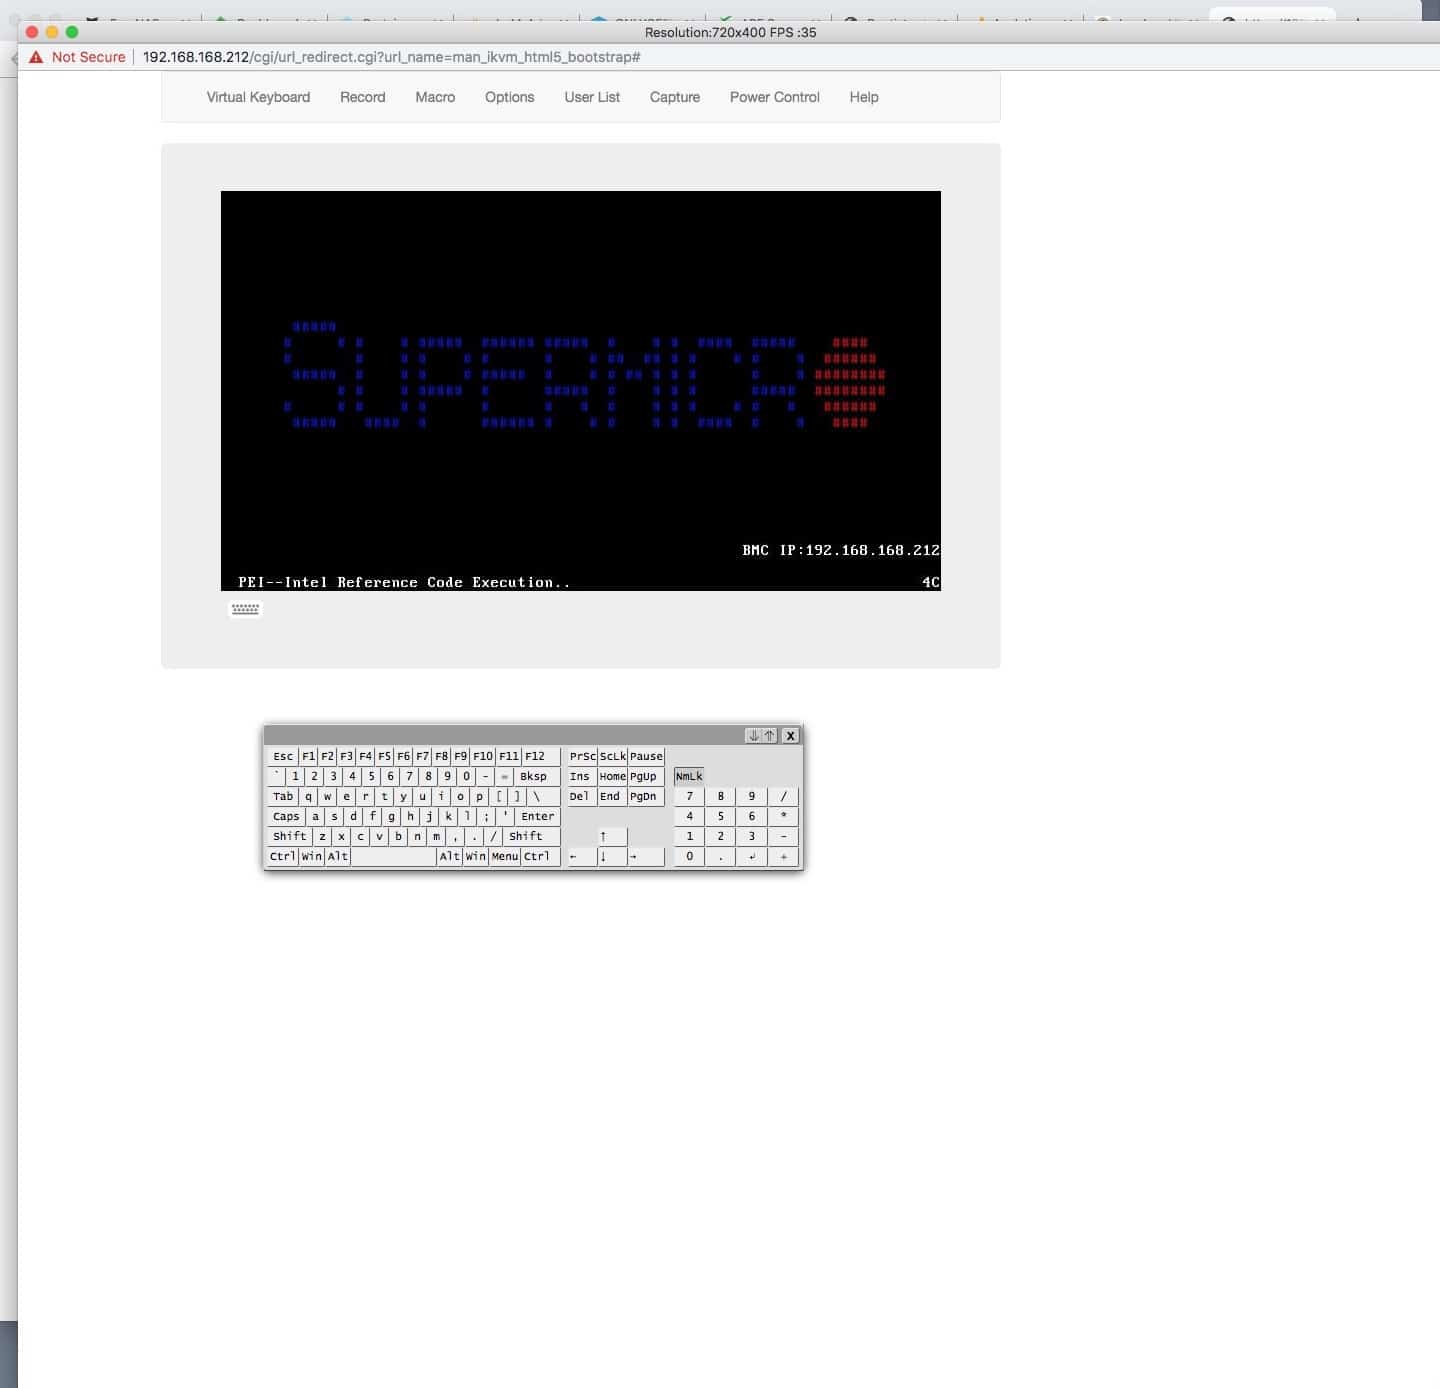
It all looked pretty good, so I thought I’d connect the power and network cable to the IPMI port try and access the IPMI before booting things up. I could, so it was time to fire up the console and switch on. It has to be said, the HTML5 console on this board is 1000% times better than the Java console on the old X10 board. It pretty much stayed connected for the entire build and the keyboard worked great. It still has a Java option, but can’t see me using that. No keyboard or monitor should ever need to touch this new box.
My first job was to check all of the drives are recognised by the LSI controller they are plugged into. I was expecting to have some power issues with the shucked drives, and first impressions looked like a number were missing. I did think that could be the LSI chip as all 8 drives were plugged into that, but I thought I’d crack on.
I needed to flash the LSI controller to the latest IT firmware. This tells the controller to passthrough control of the drives to the OS, and not try and manage any kind RAID via the controller. This was a complete ball ache, mainly due to the USB stick I’d decided to copy the files onto. Once I used a different USB stick it worked fine as described in the summary below:
- reboot and enter CTRL-C to enter the SAS boot firmware
- select the controller LSI3008 and press enter
- make a note of the SAS controller address (8:8)
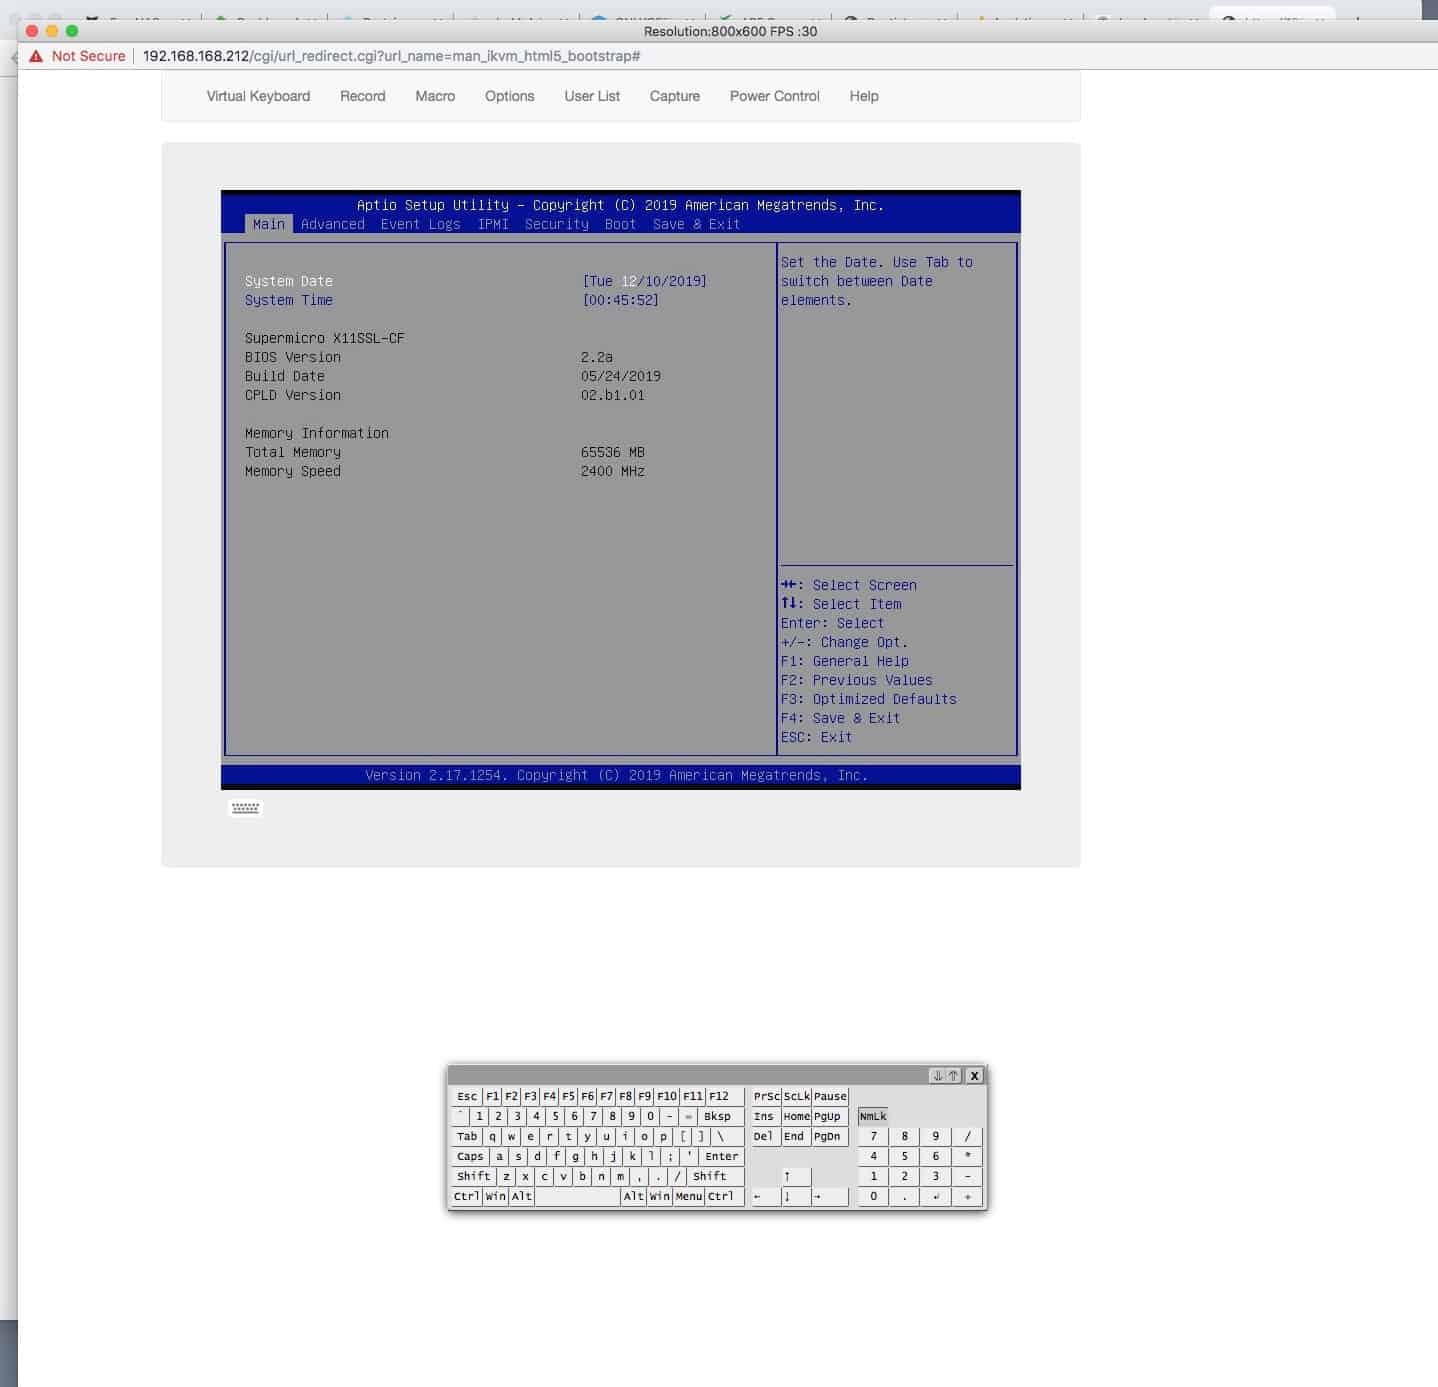
- reboot into the BIOS by pressing DEL and change it to boot into an EFI shell
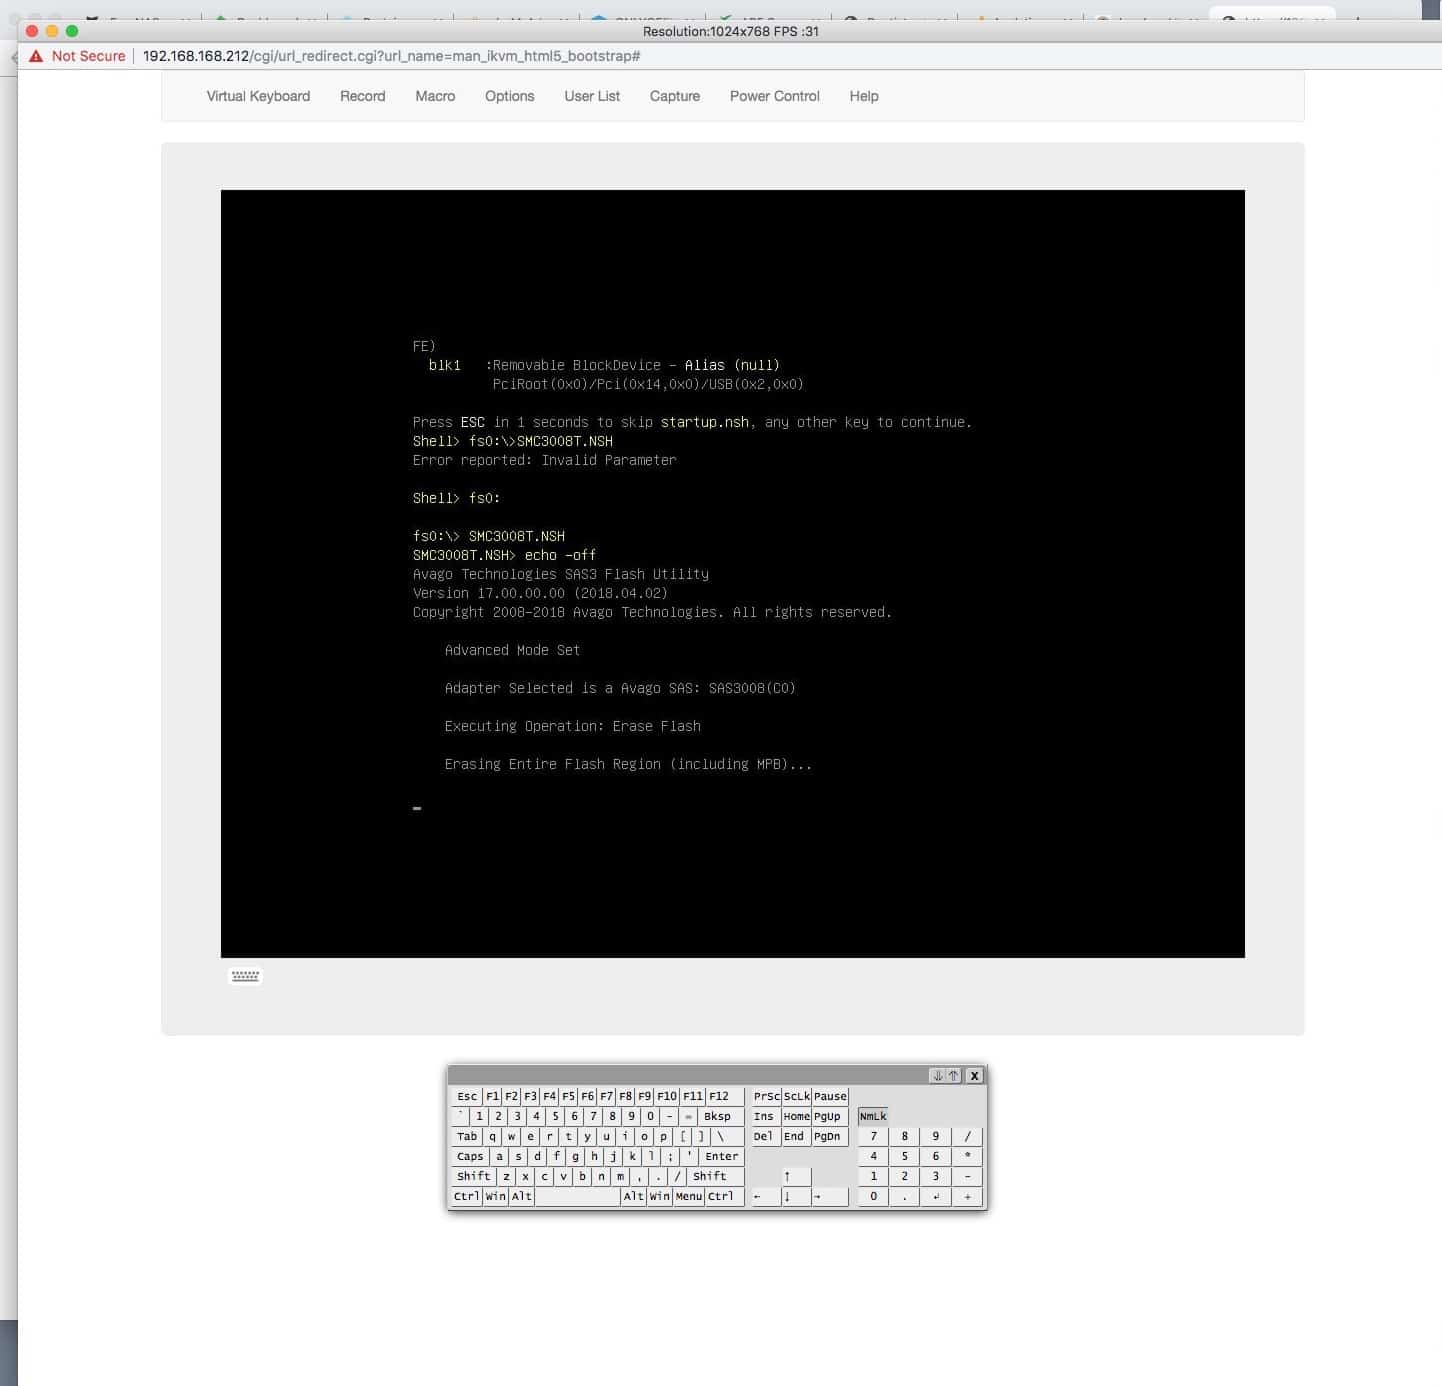
- insert the USB stick with the appropriate firmware files and reboot into the EFI shell and execute to update script
- enter fs0: to change to the USB stick
- run the script command (in my case SMC3008T.NSH)
- once complete the script asks for the last 9 (nine) characters of the SAS controller address (not the obvious 8 after the separating colon!)
- reboot and enter CTRL-C to enter the SAS boot firmware, which should now display IT mode and NOT IR

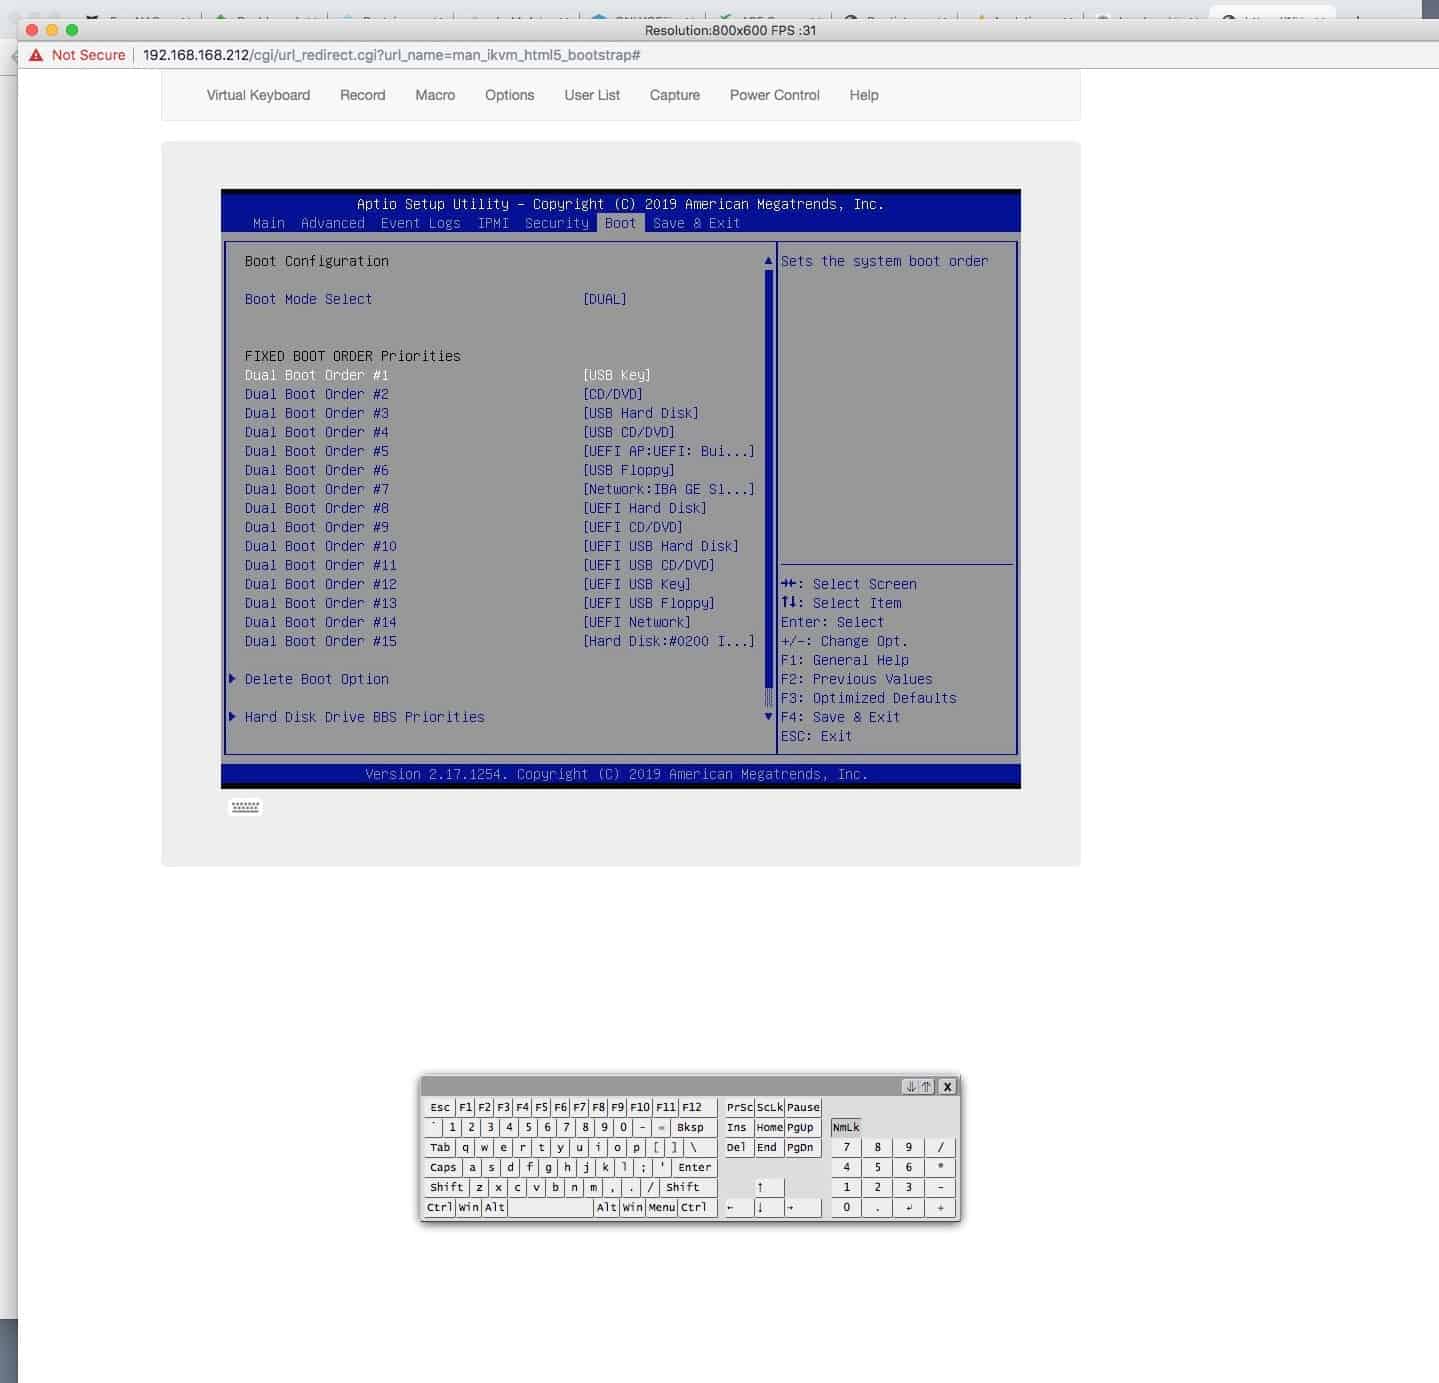
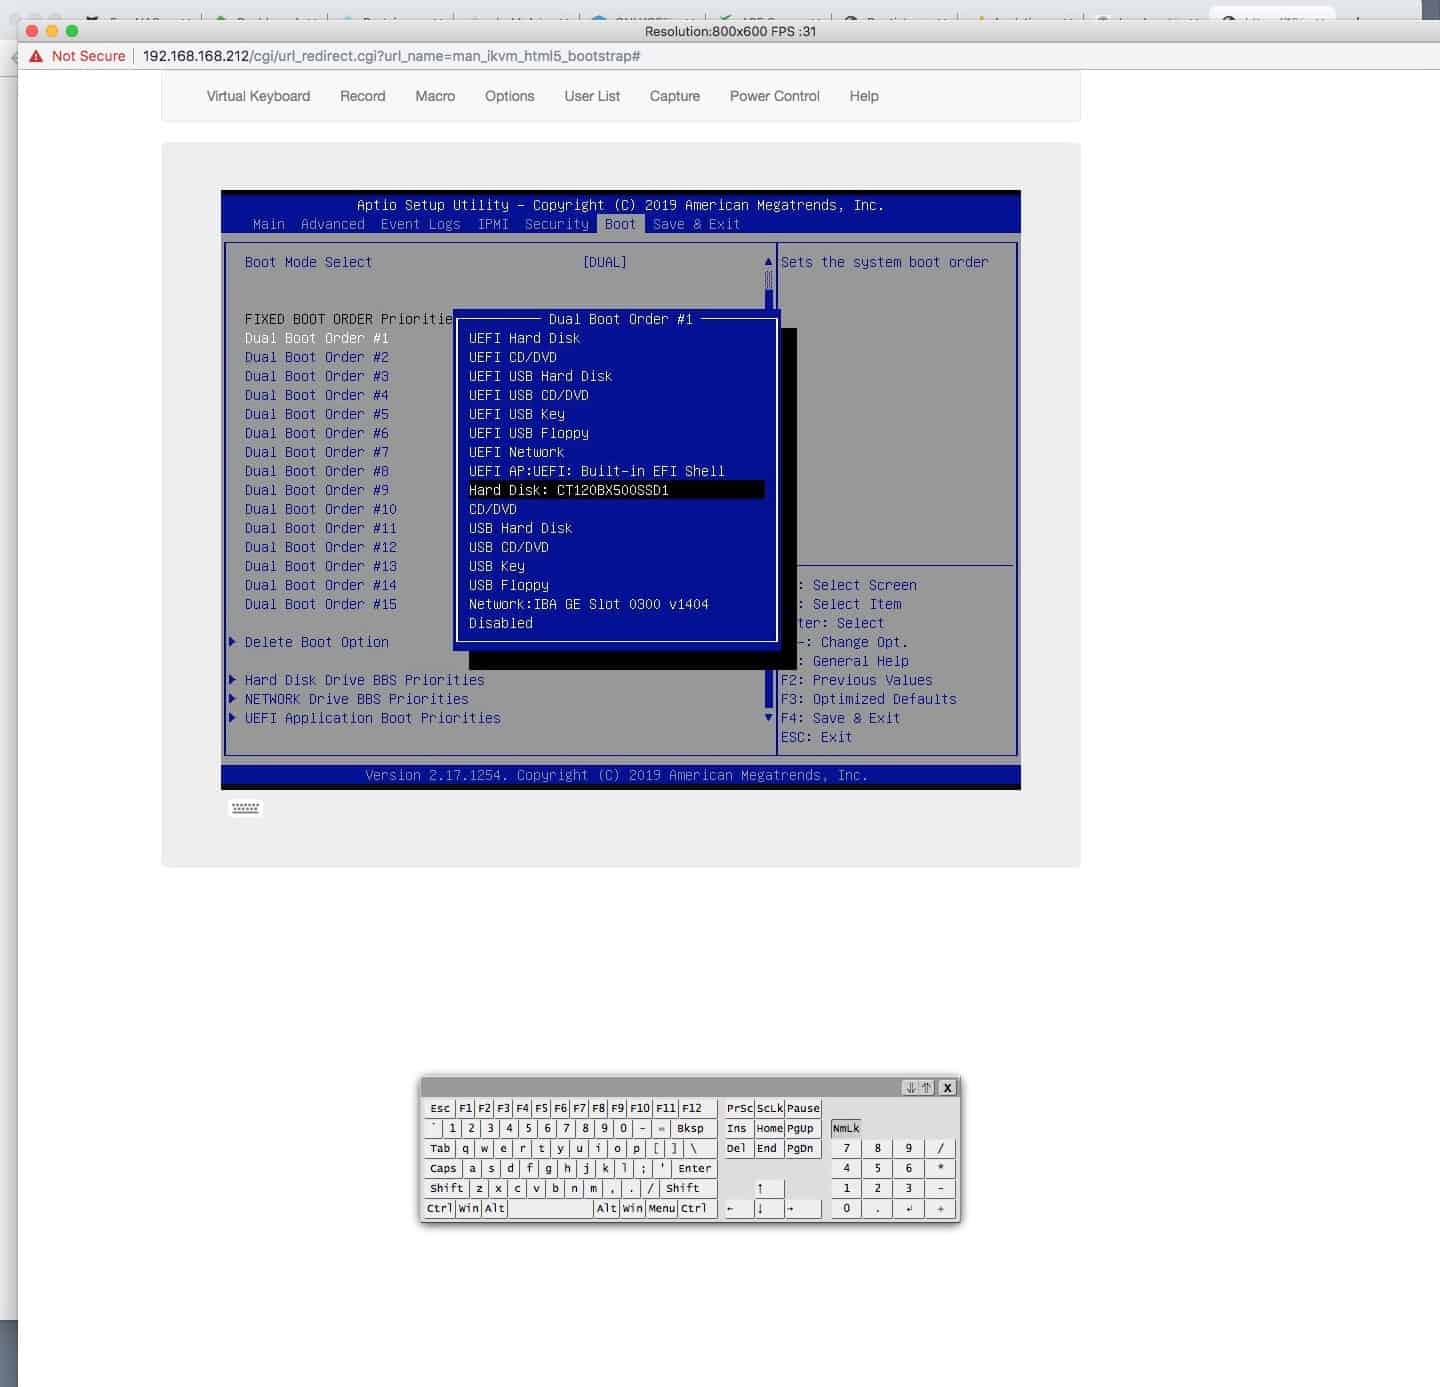
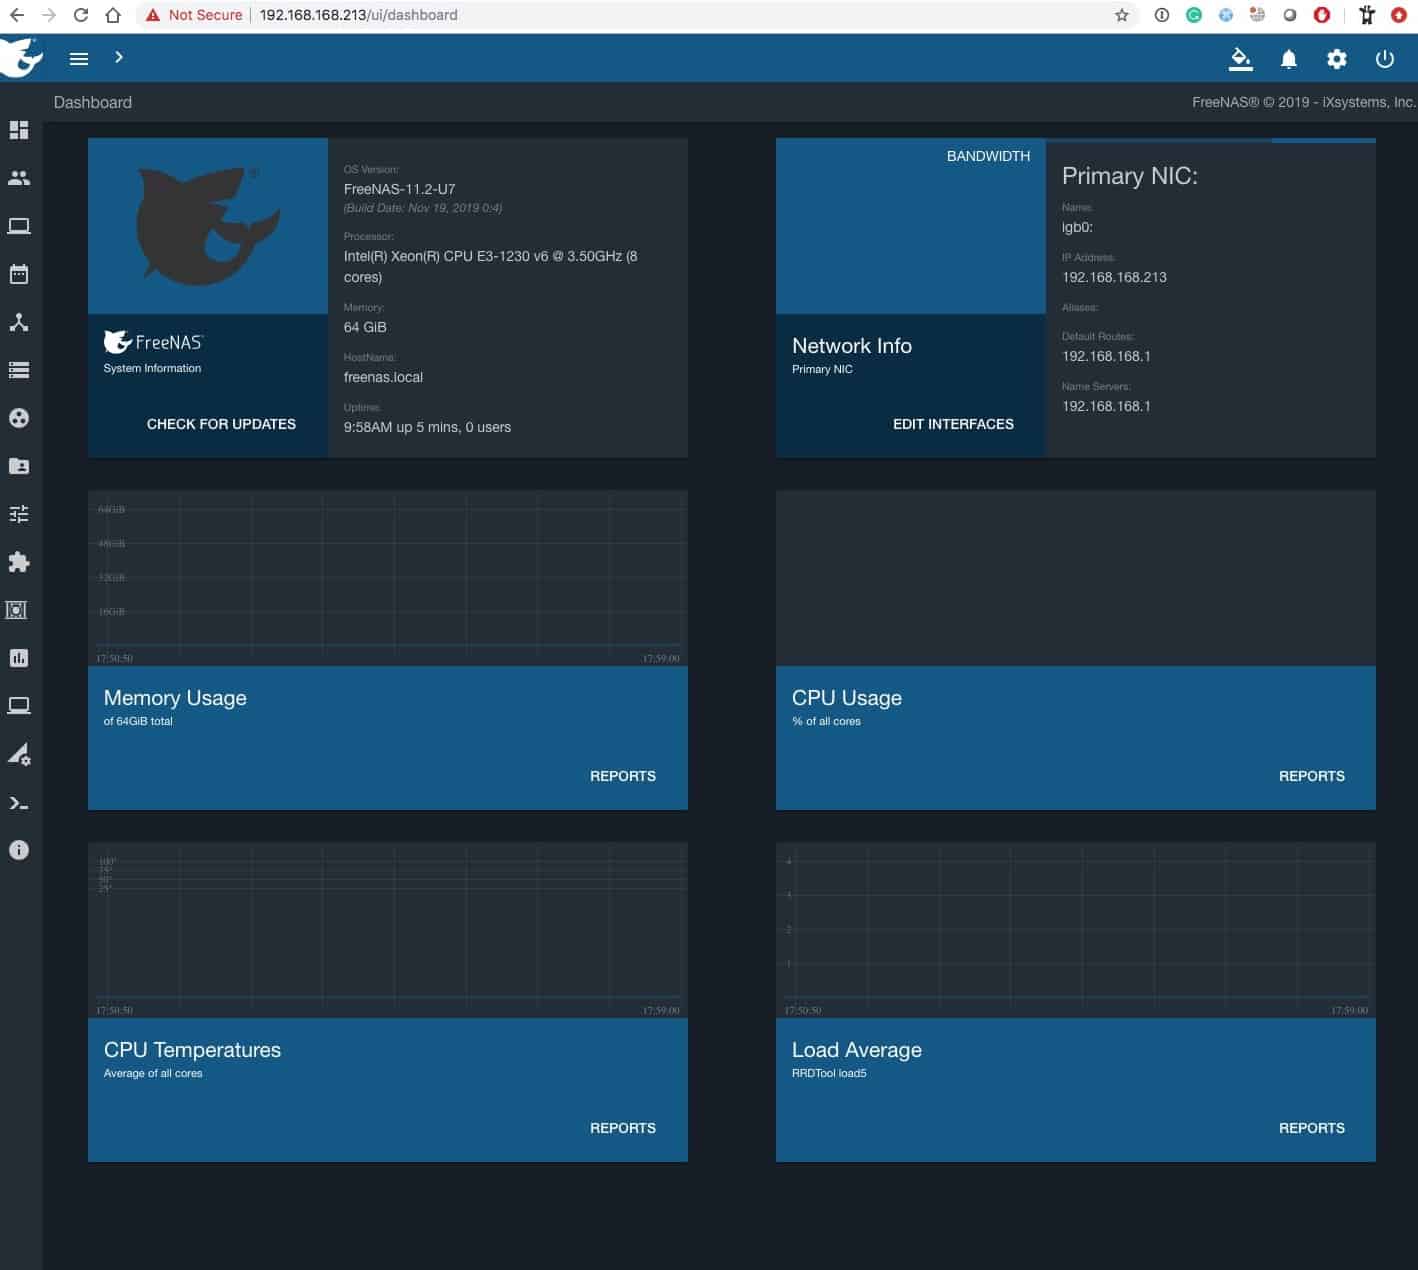
Once that was done, it was time to format a USB drive with the FreeNAS 11.1-U7 installer, change the boot order and restart. That bit went pretty swimmingly, except for forgetting to connect a network cable and wondering why the networking wasn’t starting up, but once that was plugged in I have access to the WUI for FreeNAS0!


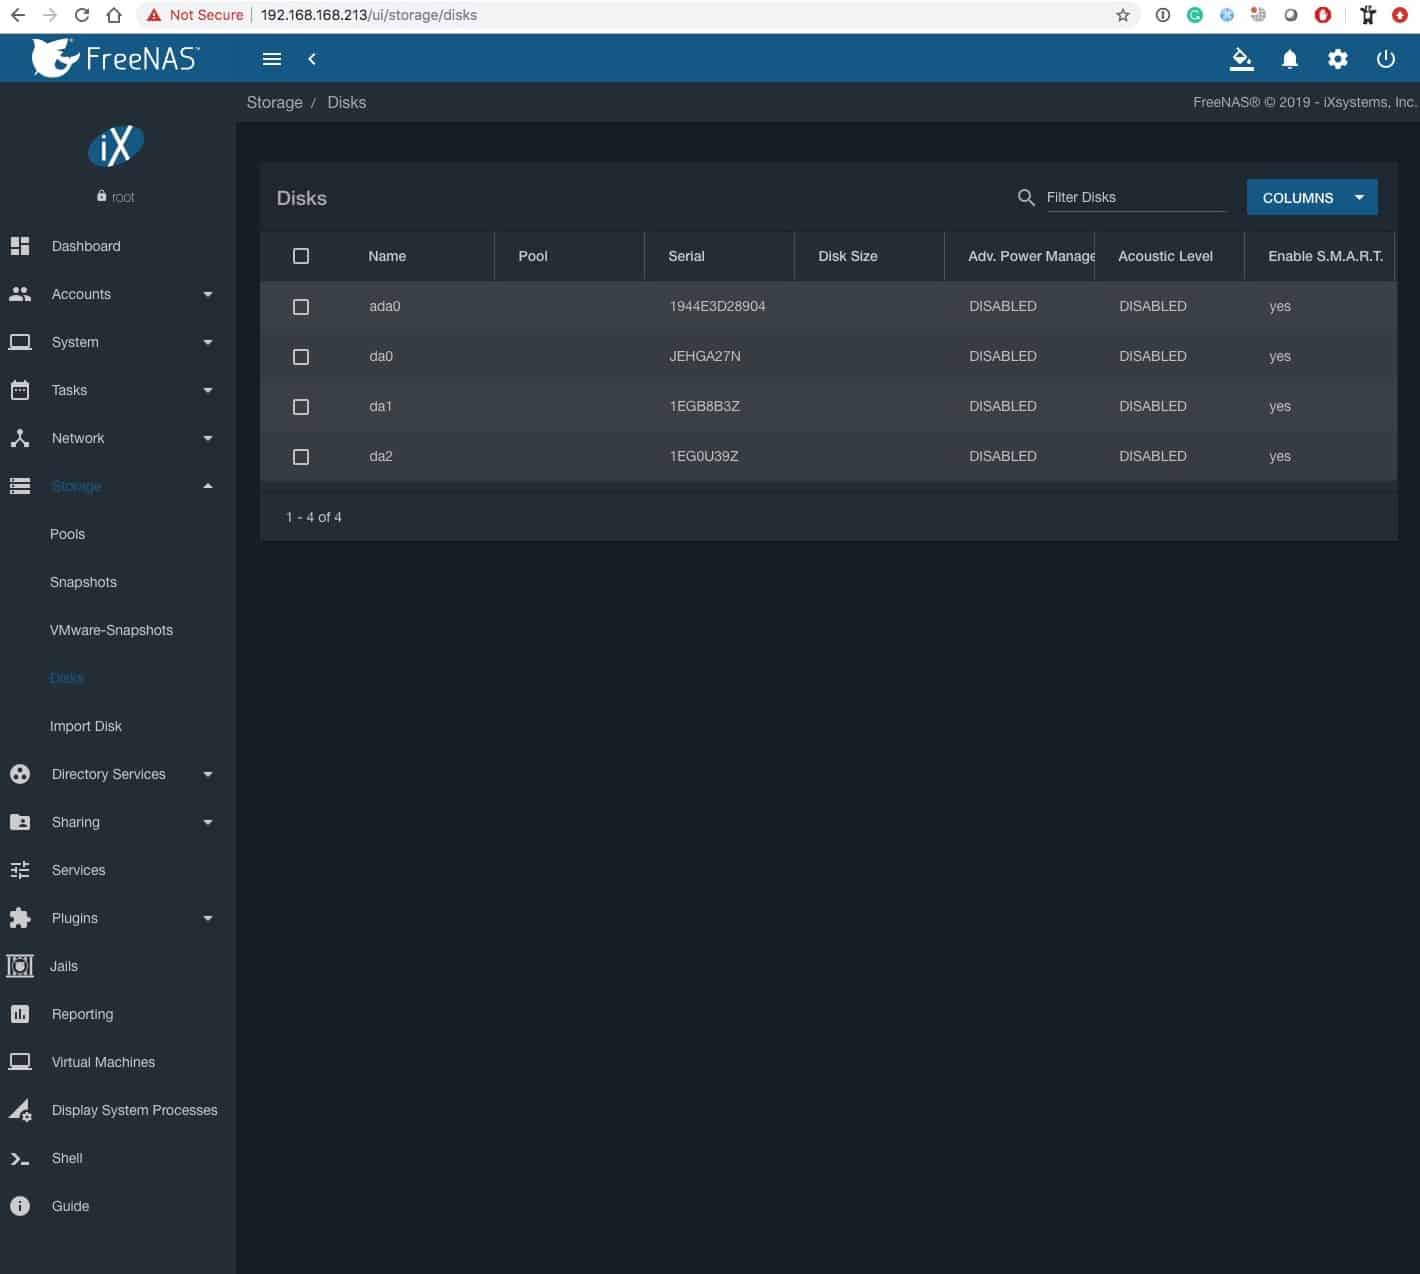
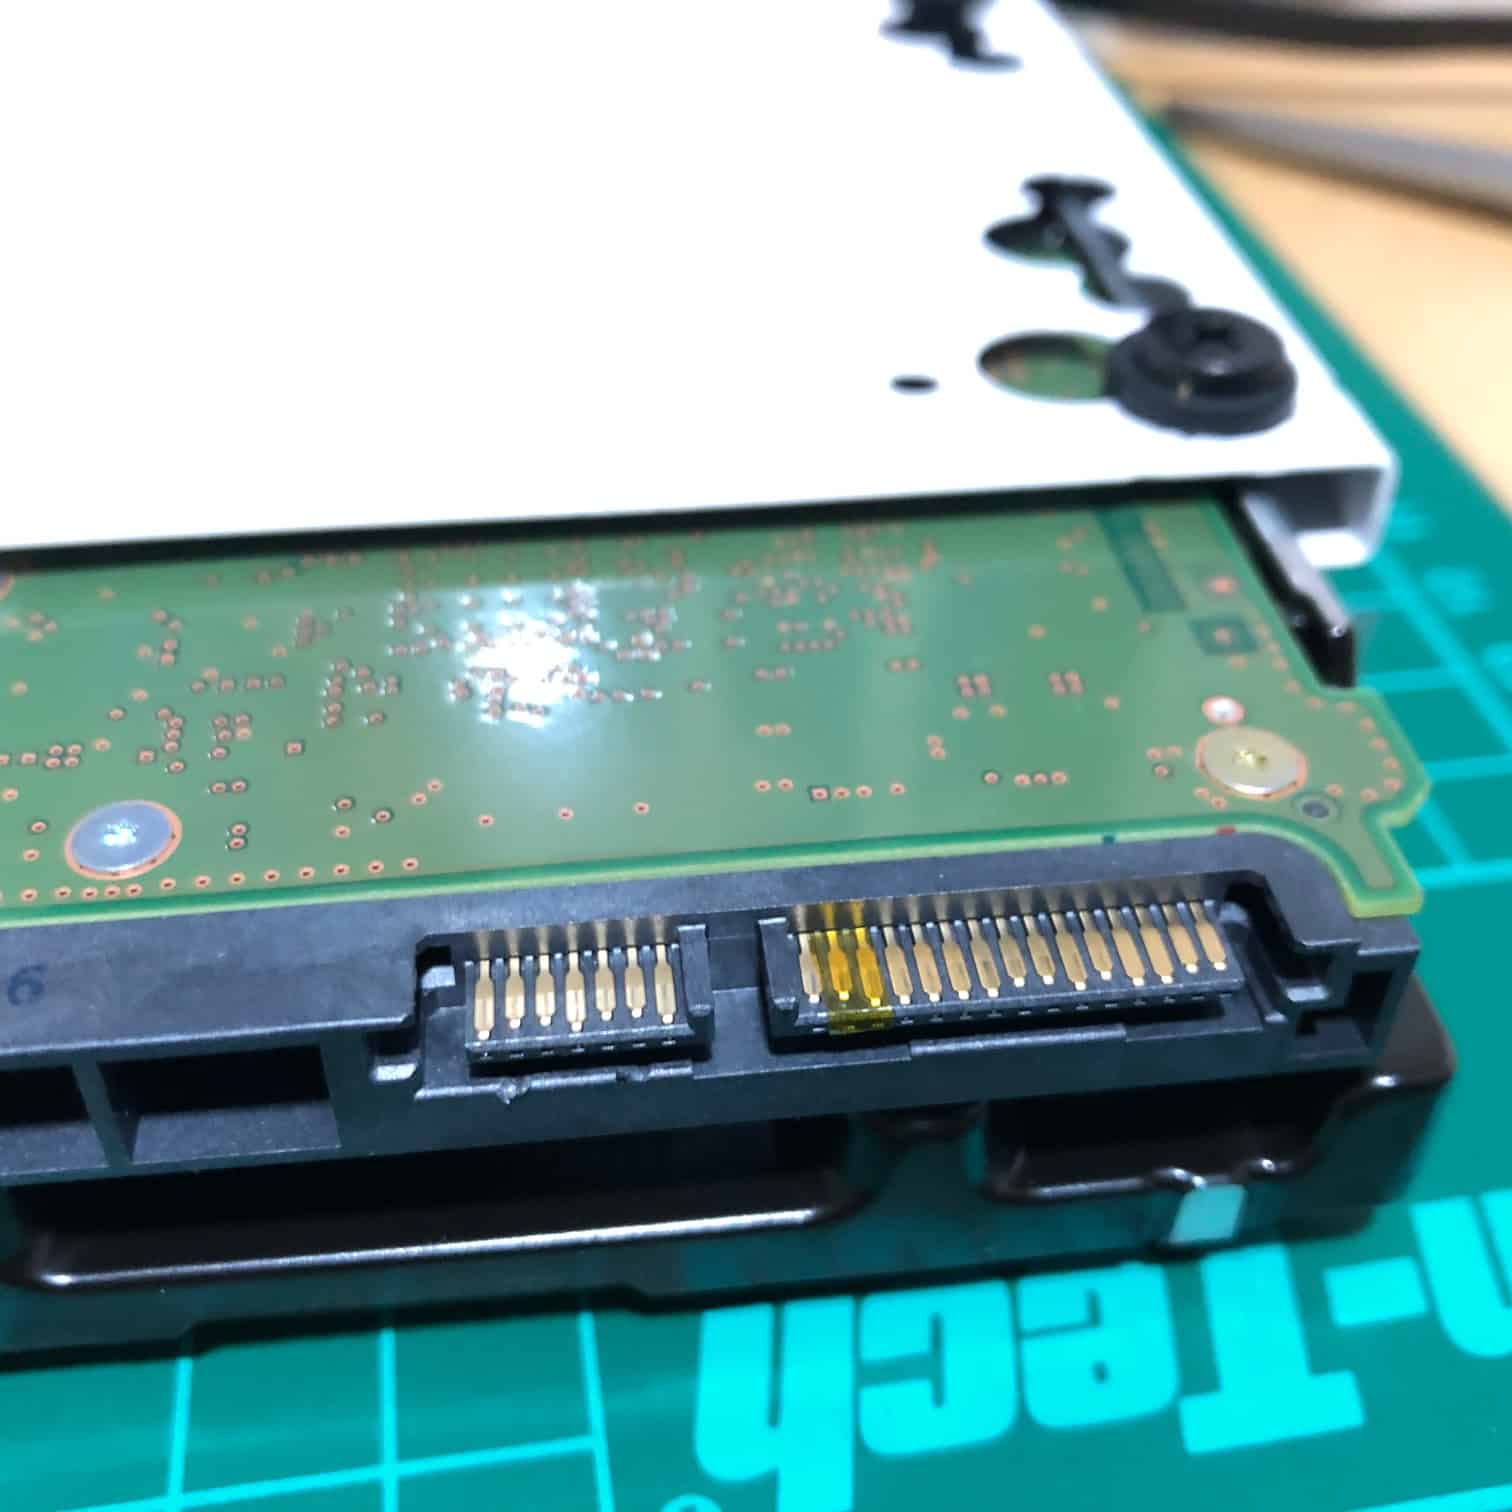
It was only reading the SSD that it was booting from and 3 of the 8 WD drives, which was a shame. I made a note of the serial numbers and worked out which 3 were working (1, 3 and 7). I’d already cut the 3rd pin on the 1st SATA power connector as this was going to be my preferred option if the shucked drives cause me problems. Turns out the 4-way cables couldn’t be changed in the same way though, so I ended up using the Kapson tape option which I’d also prepared for.

It’s pretty easy to tape off the 3rd pin on the drive as you can overlap onto pins 1 and 2 as these aren’t used. I only needed to redo 1 of them but on the 2nd reboot all 8 were picked up by FreeNAS and it was time to create a pool. I was going with all 8 in RAIDZ2, which in ZFS speak is 2 parity disks.
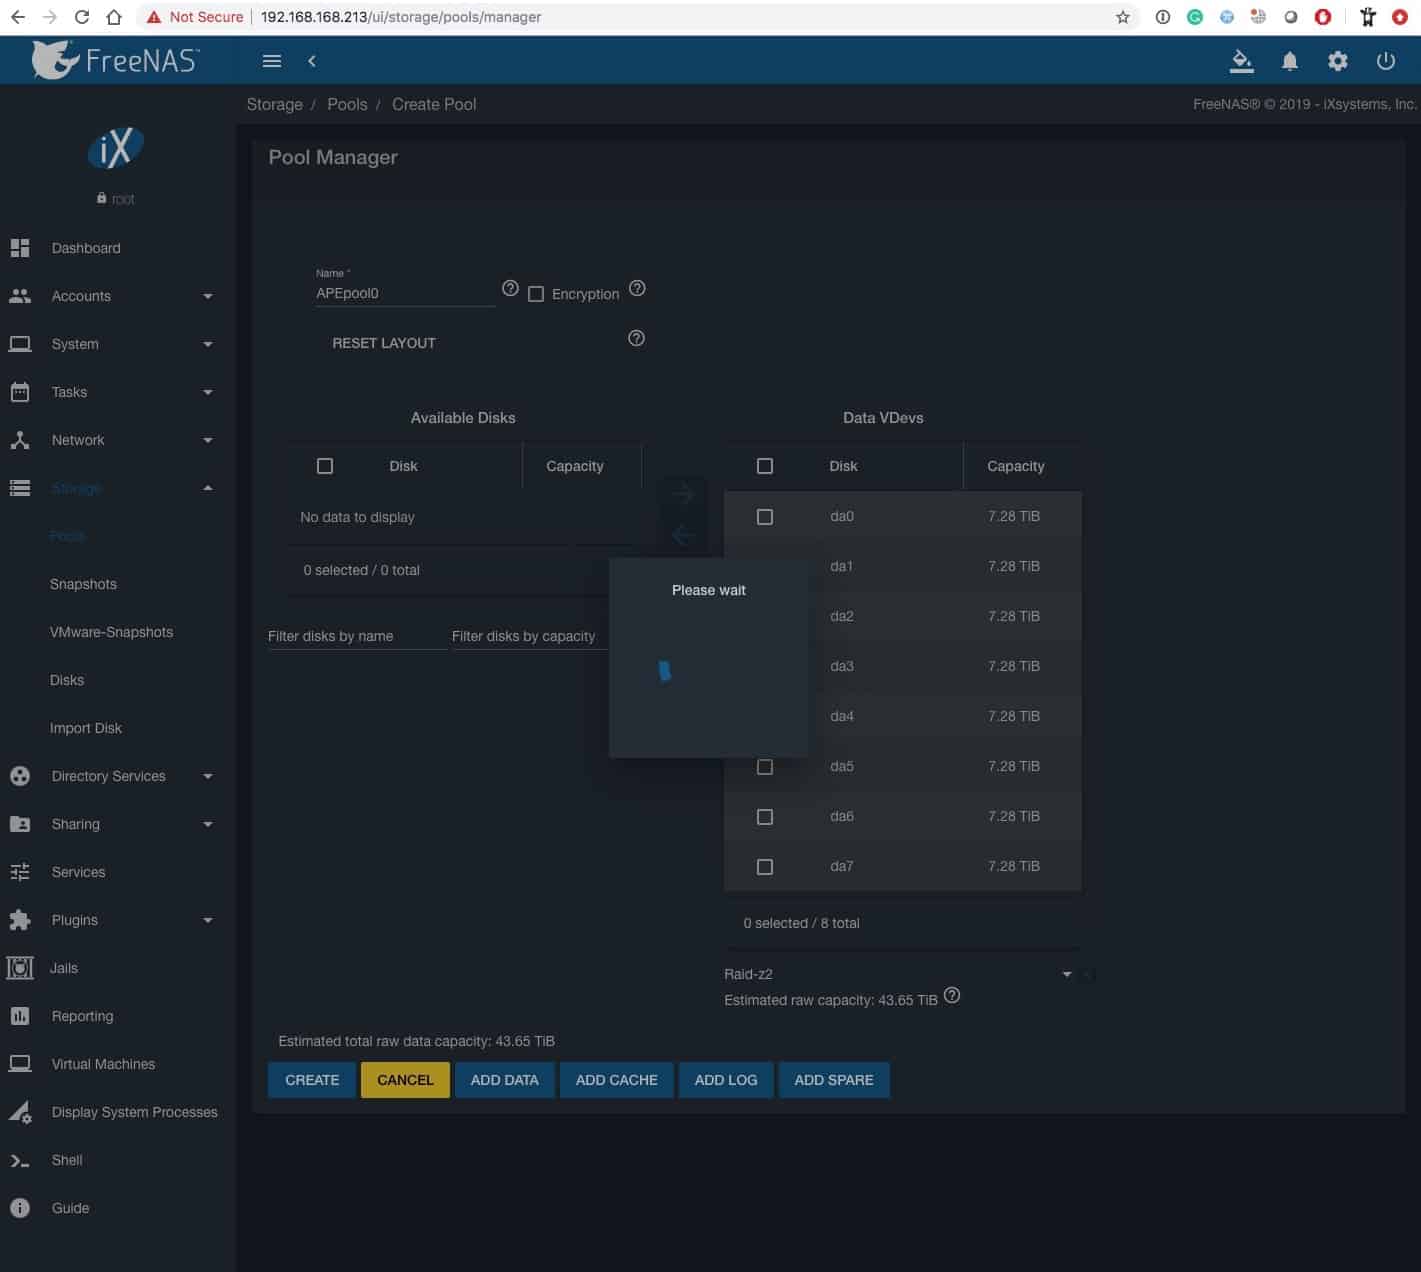
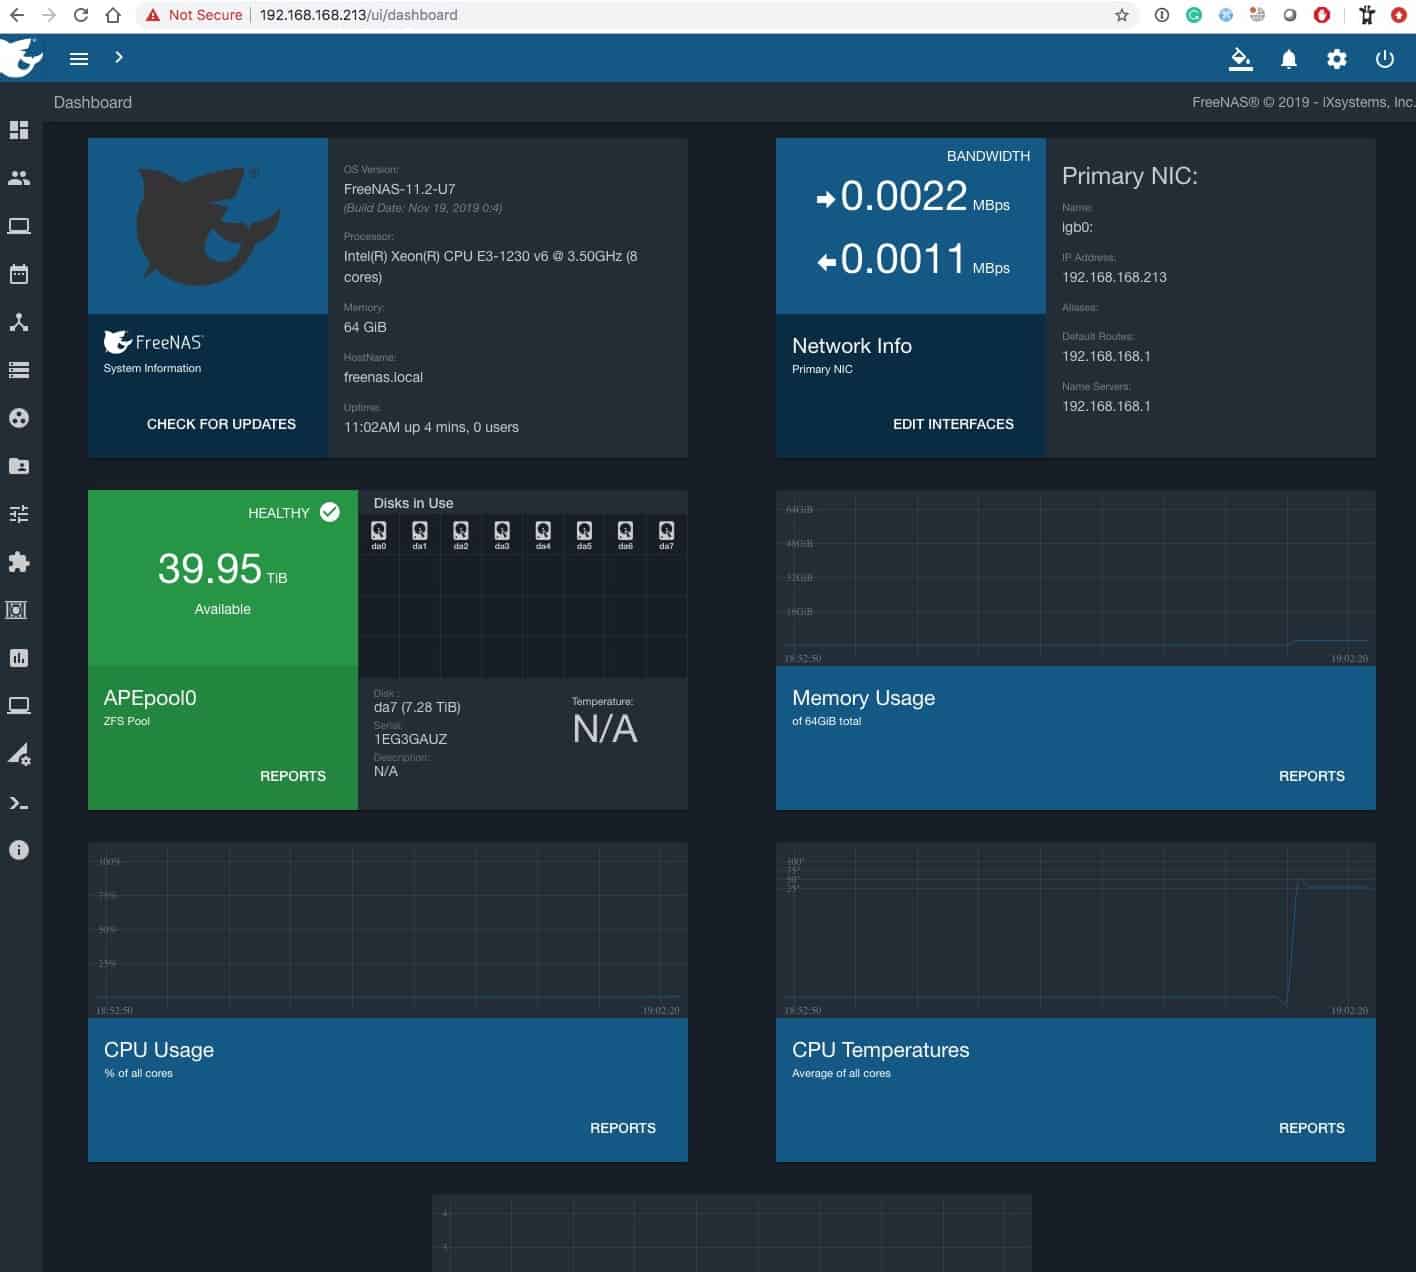
All done and I gave just under 40TB of available space. You might be asking where the other 24TB has gone (8×8=64 right?) but 8TB drives are not actually 8Tbit and come in closer to 7.28TB. Loosing 2 for parity and a little more for FreeNAS swap and overhead gets me around 40TB. There’s a nice little calculator online here which explains this better.
It all means I’ll have about another 15-16TB of free space to play with before I get close to the 80% limit. Oh, and 32GB more RAM than FreeNAS1 😀
That will do for now, but the next step is some config and a ~17TB replication, which I expect will take a few days…
Trackbacks/Pingbacks